-
Enable WPCS In Visual Studio Code
Prerequisites
Composer installed
Installation Steps
1. Install Required Dependencies
Navigate to your project’s root directory and install the following packages using Composer:
# Install PHP_CodeSniffer
composer require --dev squizlabs/php_codesniffer

# Install WordPress Coding Standards
composer require --dev wp-coding-standards/wpcs

# Install the Composer installer for PHP_CodeSniffer Standards
composer require --dev dealerdirect/phpcodesniffer-composer-installer
2. Set Up VS Code Extension
Install the extension valeryanm.vscode-phpsab in your VSC
Important: If you have the PHP Intelephense extension disable it
3. Configure VS Code Settings
- Create a
.vscodefolder in your project root if it doesn’t exist - Create a
settings.jsonfile inside the.vscodefolder - Add the following configuration:
{
  "phpsab.standard": "phpcs.xml",
  "phpsab.executablePathCBF": "./vendor/bin/phpcbf",
  "phpsab.executablePathCS": "./vendor/bin/phpcs",
  "[php]": {
    "editor.defaultFormatter": "valeryanm.vscode-phpsab",
    "editor.formatOnSave": true,
    "editor.tabSize": 4,
    "editor.insertSpaces": false,
    "phpsab.allowedAutoRulesets": [
      "phpcs.xml",
      "phpcs.xml.dist",
      "WordPress"
    ]
  },
  "phpsab.snifferArguments": [
    "--standard=phpcs.xml",
    "--tab-width=4",
    "-s"
  ],
  "phpsab.fixerArguments": [
    "--standard=phpcs.xml",
    "--tab-width=4",
    "-s"
  ]
}
4. Config for WPCS
- In the root project create a file called
phpcs.xml
<?xml version="1.0"?>
<ruleset name="WordPress Block Standards">
    <description>WordPress Coding Standards for Blocks</description>

    <!-- Use WordPress as a base -->
    <rule ref="WordPress">
        <!-- Common exclusions for blocks -->
            <!-- File doc comment exclude -->
            <exclude name="Squiz.Commenting.FileComment.Missing"/>

            <!-- Output escaping excludes -->
            <exclude name="WordPress.Security.EscapeOutput.OutputNotEscaped"/>
            <exclude name="WordPress.Security.EscapeOutput.UnsafePrintingFunction"/>

    </rule>

    <!-- Force tab indentation -->
    <arg name="tab-width" value="4"/>
    <rule ref="Generic.WhiteSpace.ScopeIndent">
        <properties>
            <property name="indent" value="4"/>
            <property name="tabIndent" value="true"/>
        </properties>
    </rule>
</ruleset>
4. Verify Installation
- Open any PHP file in your project
- Right-click and select “Format Document”
Troubleshooting
If formatting isn’t working:
- Make sure you’re in the correct directory
- Verify the packages are installed by running:
./vendor/bin/phpcs --versionAlso try to close and open again VSC to refresh after the initial instalation
Done! You are all set to test it in your php file.
Remember this is not a global config for WPCS but for an especific project. - Create a
-
Setting up Vite in WordPress Theme
Setting up Vite in WordPress Theme
How to set up Vite in a WordPress theme
Check if you need also to create a child theme, see here
Compiler vs Bundler
Let’s briefly figure out some doubts I had between the difference of a compiler and a bundler. In the past we were using Babel and Webpack, with Babel you can compile your JavaScript code and Webpack will bundle it into a single file or multiple files. But now I’m using Vite as a bundler and compiler, since it covers both functionalities and it’s faster than Webpack.
Compiler
A JavaScript compiler allows you to write code using the latest version of JavaScript (ECMAScript 6) and it will transform or compile it to a version that is compatible with most browsers.
It’s primarily configured with a file or in your build tool (Vite, Rollup, Gulp, etc.).
Example of a code written in modern JavaScript ES6:
const greet = (name) => {
  console.log(`Hello, ${name}!`);
};
After it compiles the code, it will look like this (ES5):
var greet = function(name) {
  console.log('Hello, ' + name + '!');
};
Bundler
The purpose of a bundler is to group or bundle all your assets (JavaScript, CSS, etc.) into a single file or multiple files that can be loaded by the browser.
It’s primarily configured with a file or in your build tool (Vite, Webpack, Rollup, etc.).
Setting up Vite in WordPress
1. Creating the package.json file
You can simply run
npm init -yto create apackage.jsonfile with default values.Add the devDependencies in your package.json
npm install --save-dev vite sass
Or you can add them to devDependencies in your package.json file.
  "devDependencies": {
    "vite": "^5.4.9",
    "sass": "^1.80.3",
  }
Then run
npm installto install the dependencies.If you are using VSC you can also install the extension
Version Lensto see or update the versions of your dependencies.2. Add the scripts in your package.json
  "scripts": {
    "start": "vite build --watch",
    "dev": "vite",
    "build": "vite build"
  }
3. Create the vite.config.mjs file
Inside the root of your project, create a
vite.config.mjsfile and add the following code://vite.config.mjs import { defineConfig } from 'vite'; export default defineConfig({ // Vite configuration options });In the configuration file, you can define various options for your project, like the root directory and build options.
The root directory is where your JavaScript files are located, and the build options define the output directory and the input files.
4. Fill the entry and output variables in Vite
Change the paths according to your project. In Vite, you don’t explicitly define entry and output paths like in Webpack. Instead, you set the root and build options.
//vite.config.mjs
import { defineConfig } from 'vite';
import { resolve } from 'path';

// Get the main.js where all your JavaScript files are imported
const JS_FILE = resolve('src/scripts/main.js')

// Define where the compiled and minified JavaScript files will be saved
const BUILD_DIR = resolve(__dirname, 'dist');

export default defineConfig({
  build: {
    assetsDir: '', // Will save the compiled JavaScript files in the root of the dist folder
    manifest: true, // Generate manifest.json file (for caching)
    emptyOutDir: true, // Empty the dist folder before building
    outDir: BUILD_DIR,
    rollupOptions: {
      input: JS_FILE,
    },
  },
});
With this configuration, Vite will compile and bundle your JavaScript files into the
distdirectory. But not the CSS.5. Folder structure with JavaScript files
At this point we should have something like this:
mytheme/
├── dist/
│   ├── main-AD2AS.js
│   └── .vite/
│       └── manifest.json
├── src/
│   └── scripts/
│       ├── main.js
│       ├── woo/
│       └── components/
├── node_modules/
├── package.json
├── package-lock.json
├── functions.php
├── vite.config.mjs
└── style.css
6. Enqueue JavaScript in functions.php
<?php
// ... other code
add_action('wp_enqueue_scripts', function(){
    $manifestPath = get_theme_file_path('dist/.vite/manifest.json');

    // Check if the manifest file exists and is readable before using it
    if (file_exists($manifestPath)) {
        $manifest = json_decode(file_get_contents($manifestPath), true);

        // Check if the file is in the manifest before enqueuing
        if (isset($manifest['src/scripts/main.js'])) {
            wp_enqueue_script('mytheme', get_theme_file_uri('dist/' . $manifest['src/scripts/main.js']['file']));
        }
    }
});
?>
7. Building the CSS
For this part we don’t need to touch the
vite.config.mjsfile any more. We just need to add the CSS files to themain.jsfile.// src/scripts/main.js /** * Main JS file for Cartify Child * * Import the main css file * Import all the JavaScript files that are needed for the theme. */ // Import the main CSS file import '../styles/main.scss' // Build the main JS file // ... other js files imports
In our case we need to create the
main.scssfile in thesrc/styles/directory. There you will add or import all the other CSS files that you need.8. Folder structure with CSS files
mytheme/
├── dist/
│   ├── main-something.js
│   └── .vite/
│       └── manifest.json
├── src/
│   ├── scripts/
│   │   ├── main.js
│   │   ├── woo/
│   │   └── components/
│   └── styles/
│       ├── main.scss
│       └── general/
├── node_modules/
├── package.json
├── package-lock.json
├── functions.php
├── vite.config.mjs
└── style.css
9. Enqueue CSS in functions.php
And as we did with the JavaScript files, we need to enqueue the CSS file in the
functions.phpfile. We just need to update the previous code to enqueue the CSS file.add_action('wp_enqueue_scripts', function(){ $manifestPath = get_theme_file_path('dist/.vite/manifest.json'); // Check if the manifest file exists and is readable before using it if (file_exists($manifestPath)) { $manifest = json_decode(file_get_contents($manifestPath), true); // Check if the file is in the manifest before enqueuing if (isset($manifest['src/scripts/main.js'])) { wp_enqueue_script('mytheme', get_theme_file_uri('dist/' . $manifest['src/scripts/main.js']['file'])); // Enqueue the CSS file wp_enqueue_style('mytheme', get_theme_file_uri('dist/' . $manifest['src/scripts/main.js']['css'][0])); } } });My .vite/manifest.json file
Just for your curiosity, this is how my
manifest.jsonfile looks like:{ "src/scripts/main.js": { "file": "main-BL027S3L.js", "name": "main", "src": "src/scripts/main.js", "isEntry": true, "css": [ "main-BLUr3EH8.css" ] } }10. Running Vite
Now you can run Vite with the following command:
npm run start
Conclusion
This is how you can set up Vite in a WordPress theme. It’s a bit different from Webpack, but it’s faster and easier to configure. You can also use Vite for many other projects.
-
My First NPM Package got 3,000 Downloads in a Week

A year ago, I was creating my first blog with Astro, and I needed something to organize the blogs into pages. So I started searching online to see if Astro had anything to solve this, and Astro didn’t have anything built-in.
Until I randomly found a blog talking about an npm package for Astro to manage blog pagination. The creator was Phil Nash. Months later, I went to a talk he gave in Berlin at the WeAreDevelopers World Congress.
The internet is beautiful, and the community is beautiful too. Someone who also needed a pagination component not only created it but shared it with the community.
Every day we use things made by people without thinking about it, but that day it caught my attention so much that I went to learn more about Phil Nash. I had never looked up who the author of an NPM package was before.
After this, I had the idea to create an NPM package too. I had no idea where to start – it seemed like something only hackers could do.
However, now even though I don’t have much experience, we have great AI tools plus the internet itself that explain the process almost like having a senior developer next to us.
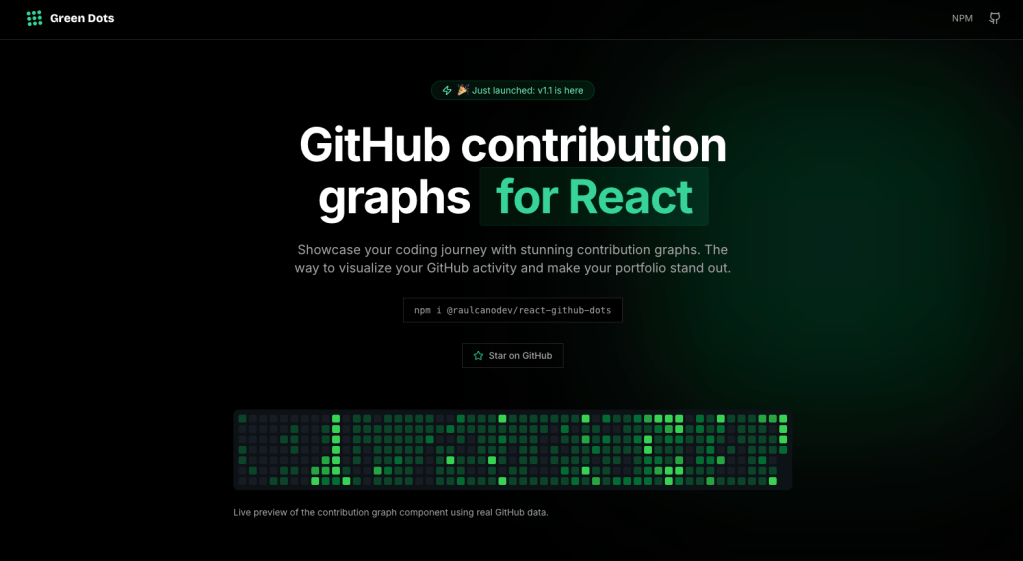
And last weekend the idea came: I was creating a new portfolio and thought it would be cool to add the GitHub contributions graph, the one with the green dots.
So why not create it not just for me but for anyone who wants to use it? Boom! Done Green Dots created, and in less than a week it already has +3,000 downloads on NPM.
The internet is beautiful! And remember to do a git push every day, because consistency is the key to success.
-
Welcome!
Welcome to our collaborative engineering blog. Think of it as a team blog with guests as well from time to time.
Guidelines
Write excellent code examples
Code examples are what makes your posts and articles very relevant to developers. They say more than dozens of pages and – even more importantly – they invite people to play with your stuff.
Solve a problem with your post
We don’t need “hello world” examples that don’t do anything useful. Instead we should aim to give out code that solves real problems. Writing “hello world” code teaches people to write code, but not how to solve issues with it. Good code examples should answer the “how does this technology help me solve a problem?” and not the “how do I use this?” question. The “how do I use this?” question can be answered by documentation.
Show a working example
One of the first things to show in a code example is a working implementation. There is nothing more powerful than a way to see what the thing does by clicking a link or entering some data and sending off a form. You telling the readers that it works is one thing – the readers being able to try it out and seeing it for themselves is much more rewarding.
Explain the necessary environment
One of the things you want to avoid is people getting excited about your code and then not being able to make it work in their own environment.
Write working copy and paste code
Copy and paste is probably the most used way of learning code. You can write documentation until your fingers bleed, but the biggest use case is that developers will check a code example, copy and paste it, fiddle around with it until they get stuck and then start reading the docs.
Have the example as a download
Using a hosted code solution like GitHub this job is done for you automatically.
Based on content from developer-evangelism.com by Chris Heilmann
Home
Get updates
Get a friendly ping when new content is out.
